
Recap
As the facilitator, make sure you take a sneak peak at yesterday’s concepts that were left facedown. You’ll need to read these out later, so familiarise yourself with them first.
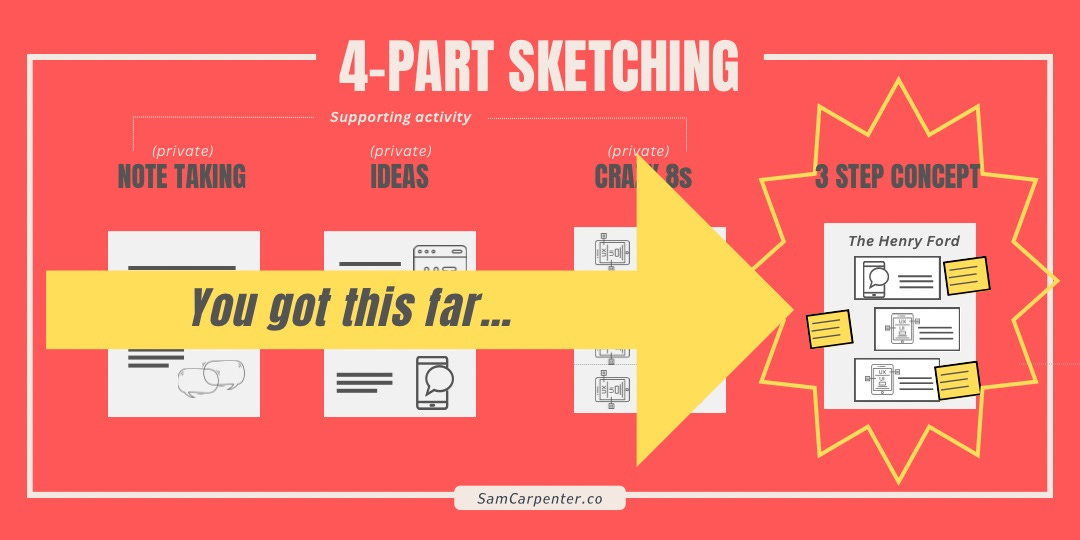
First task of the day is to recap on the previous day: As a design sprint team, the challenge has been defined and solution ideas produced with the concepts. Now it’s time to…
Vote on concepts
Use the heat map vote method:
Reread the sprint quesitons to the group. Then each person stands up and reviews all the concepts, and as they do they place their voting dots on every piece of an idea they think is a good way to answer one of the sprint questions.
Encourage people to use multiple dots on great ideas to build up the heat map; they can use as many dots as they want. The purpose is to capture opinions rather than make decisions at this stage. As they’re reading the concepts, people can ask clarifying questions on a sticky note and place it next to that concept area.
As the facilitator, you’ll be taking notes at this stage capturing the concept titles and big ideas which features have the most heat (dots).
Concepts’ presentation
This activity will align understanding of the concepts that demonstrate the solution ideas.
As the facilitator, using your notes you made before the workshop started, quickly present back each concept; just the parts with the most dots on them. Ask: “Did anyone vote on this for a different reason, other than the one I just explained?” This allows for a quick discussion on what others believed to be the idea of the concept, enabling group alignment.
Ask for a volunteer to write down quick basic points you’re calling out from your notes to place at the top of the concept. This will make it easy to see the big points later without having to read too much detail.
Straw poll vote
(aka which way the wind blows to see where opinions are falling) to inform the decider.
Everyone except the decider reviews all the concepts and decide in their heads which concepts or particular part of one of those concepts they think should become a prototype and test. Out of the sprint questions, which concept, or part of a concept, will really help answer those?
Each person writes their decision down on 1 sticky note and a few quick reasons why they’ve made that note.
Now it’s time for synchronised votes. It’s crucial everyone places their vote at the same time so there isn’t any influence. Everyone takes a large dot and puts their initials on it (so we know who decided on what and can talk through their decision).
Each person now talks through their decision vote to explain to the decider why they voted on that particular concept.
Decider Vote
With 1 special big decider sticker, they vote on their final choice and then explain that back to the team.
(Pro tip: Remind the decider this is about placing a bet on what we want to test. It’s not about choosing what will really work.)
Afternoon’s goal: Define the prototype with a storyboard
Building on the winning concept just chosen, the next team activity is for everyone to define their own 6 steps of the concept’s user’s flow. This will inform the final storyboard.
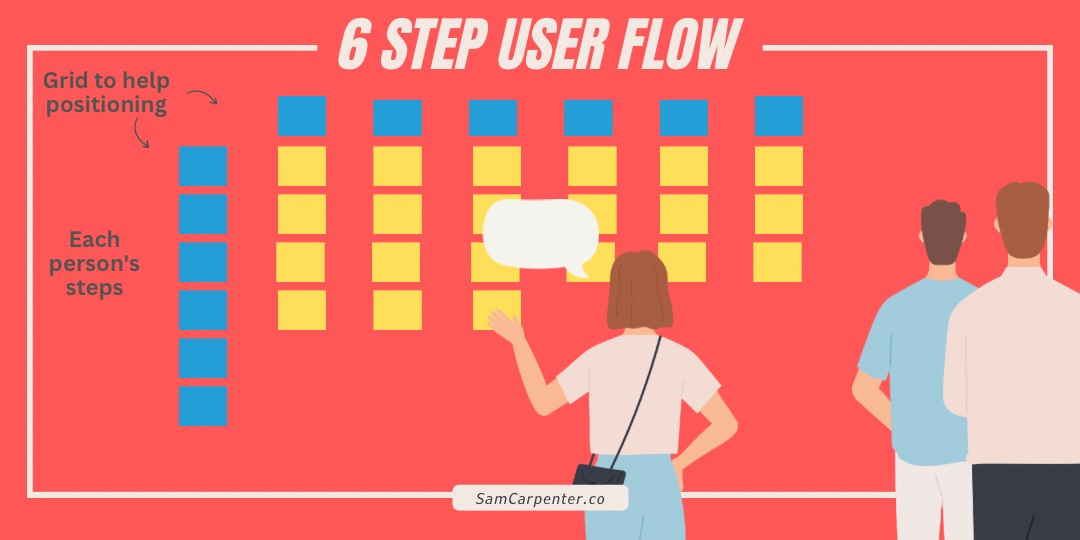
Referring to the ‘6 Step User Flow’ image above, the blue vertical post-it notes will have each person’s name on it and the 6 horizontal notes are for the 6 steps of the user’s flow. These blue notes just provide a grid to keep the notes tidy.
Each team member writes on their own sticky notes. They will need to start wtih a realistic entry point, for example how a user finds out about the new thing. (Pro tip: using verbs helps make the actions clear for example ‘Googles’ or ‘adds’.)
Then write an ideal ending that will show how the tester will - or will not - use the new thing. For example would they subscribe, share with a friend or buy?
Now fill in the 4 in-between steps which the user could go through.
As the facilitator, ask each person to place their 6 sticky notes on the wall (in line with the guiding blue framework) reading out each one at a time; building a full grid collectively so everyone’s different versions of the user flow are up on the wall.
Vote
Next step is to vote on their favourite line of 6 steps (except the decider). With 1 sticky dot each person votes on the row they think has the clearest story.
After that the decider gets the final say, with the dot votes helping them make their choice, they use their larger decider sticky dot to indicate the user flow to take forward.
Storyboarding
The final exercise of day 2 is to illustrate the user’s journey from the 6 Step User Journey. Its purpose is to leave no open questions, as all the necassary detail is plotted, so tomorrow the prototype can just be built.
This Storyboard exercise is done in 2 parts:
Ask 1 of the team to be the scribe, the person who likes drawing. They’ll be sketching out everyone’s thoughts for the UI onto the A4 sheets of paper.
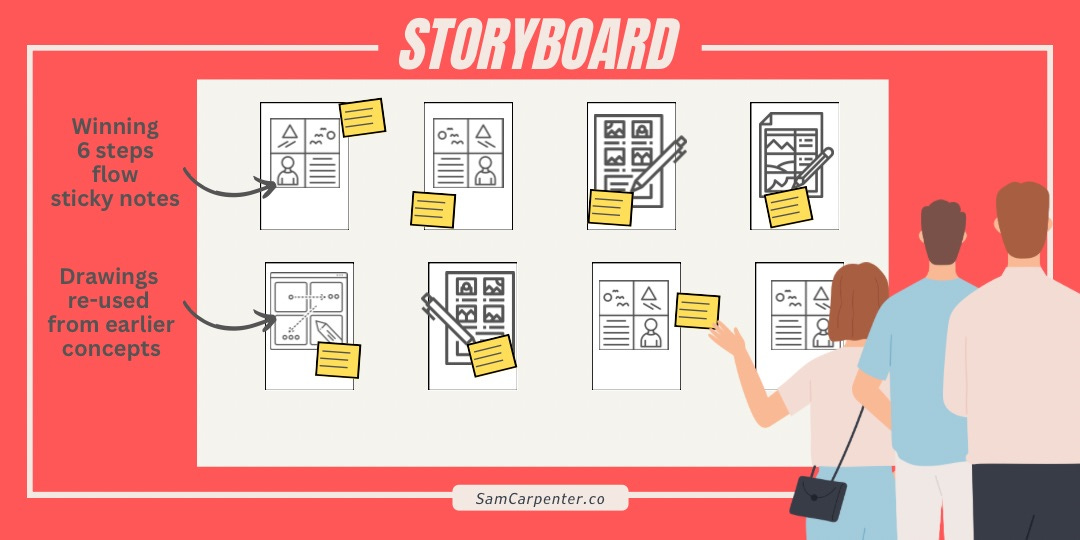
Part 1 is drawing each screen’s UI on A4 paper. You will be left with 8 UIs that represent the product’s screens. The scribe will translate each 6 steps of the user flow into the 8 sheets of A4. (1 sticky note step often translates into more than 1 screen.)
You can give everyone side-tasks of working on other screens, so that not everyone is working on the same screen at once. For example, drafting copy or researching on Google for ideas to finalise the prototype screens. It’s a good idea to annotate how the user is feeling and what they might be thinking on a sticky note and place on or near each screen. Include which options the user has to interact with and what happens, on the following screen, once the user has interacted with the UI.
During this UI creation period, reivew older drawings from all concept ideas drawn earlier, there could be good drawings to re-use. Avoid unnecessary effort by using what’s already there. Cut these out if they’ll work and stick them onto the screens.
Make sure all the detail is in there but also not too much detail; nothing unnecessary and no new ideas! For example, if you’re not testing the date selector or log-in functionality those aspects don’t need to include this.
Part 2 is to give the storyboard a second pass. One member of the group reads through the storyboard to everyone else. This is an opportunity to spot if anything is missing. Now fill in the missing detail starting with the first screen and then doing the same on the last screen next, which will be the final step of the user’s flow where that journey shows it is complete. If there’s any time left, do the same for the in-between 4 screens too.
With the storyboard done, it will inform the development of the prototype. Let the team know what will be happening over the next 2 days (prototype development, user testing and user feedback). Most of your facilitation work is done new. Phew!
It’s the end of day 2 and the workshops. As the facilitator you’ve helped manage the decider’s anxiety of their choices as you’ve made it clear there are no wrong or right options, instead it’s about placing a bet.
If you haven’t already, be sure to subscribe to this blog and that will ensure tomorrow’s Day 3 of the Sprint Design, How-To Guide will land effortlessly in your in-box.
Check my availability if you want or need any further support or training on Design Sprints. See ‘4 Links’ in my profile area of this blog for contact options.